Preparing products properly before a commercial photoshoot is one of the simplest ways to protect the schedule, control retouching requirements and produce a consistent final image library.
The camera records details that may be easy to miss in everyday handling: fingerprints on glass, dust on dark packaging, uneven labels, scratches on metal, loose threads and colour differences between samples. If these issues are discovered only after the lighting is built, the production team may have to stop, clean or replace products, change the shot list or rely on additional retouching.
This guide gives brands, ecommerce teams and agencies a practical preparation process for product photography and video in Dubai and across the UAE. It applies to catalogue images, marketplace content, advertising assets and creative product campaigns.
The Short Answer
Send camera-ready products, at least one approved backup for fragile or high-detail items, a verified SKU list, the final packaging, reference images and a clear shot list. Check every sample for dust, damage, alignment, colour and completeness before dispatch. Confirm which image style, angles, crops, file formats and deadlines are required before the shoot begins.
What You Will Learn
- How to select the best product samples
- What to clean, inspect and test before shipping
- How to organise SKUs, variants and packaging
- What information belongs in a product photography brief
- How to build an efficient shot list
- How preparation changes for reflective, transparent and electronic products
- What to confirm before the production day
Start With the Final Use of the Images
Product preparation begins with where the content will appear. A white-background marketplace image has different requirements from a campaign photograph for a billboard, a product reel or an image designed for a website banner.
Confirm the intended channels:
- Company website or ecommerce store
- Amazon, Noon or another marketplace
- Social media and paid advertising
- Digital screens and presentations
- Printed catalogues, packaging or outdoor advertising
The final use affects the composition, image ratio, resolution, background, number of angles and level of retouching. It also determines whether space is needed for copy, price graphics or campaign messages. Giving this information to the production team early prevents images from being cropped awkwardly later.
Select Camera-Ready Samples
The sample used for photography should be the best available representation of the product. Do not assume that every unit from the same batch will look identical under controlled light.
Inspect each item for:
- Scratches, dents and chipped surfaces
- Fingerprints, dust and adhesive residue
- Crooked labels or printing
- Damaged corners and crushed packaging
- Loose parts, threads or decorative elements
- Colour differences between the sample and the approved product
- Missing accessories, inserts or instructions
If several samples are available, compare them side by side. A small alignment error that is barely visible in a warehouse can become obvious in a close-up photograph.
Send Backup Products When Possible
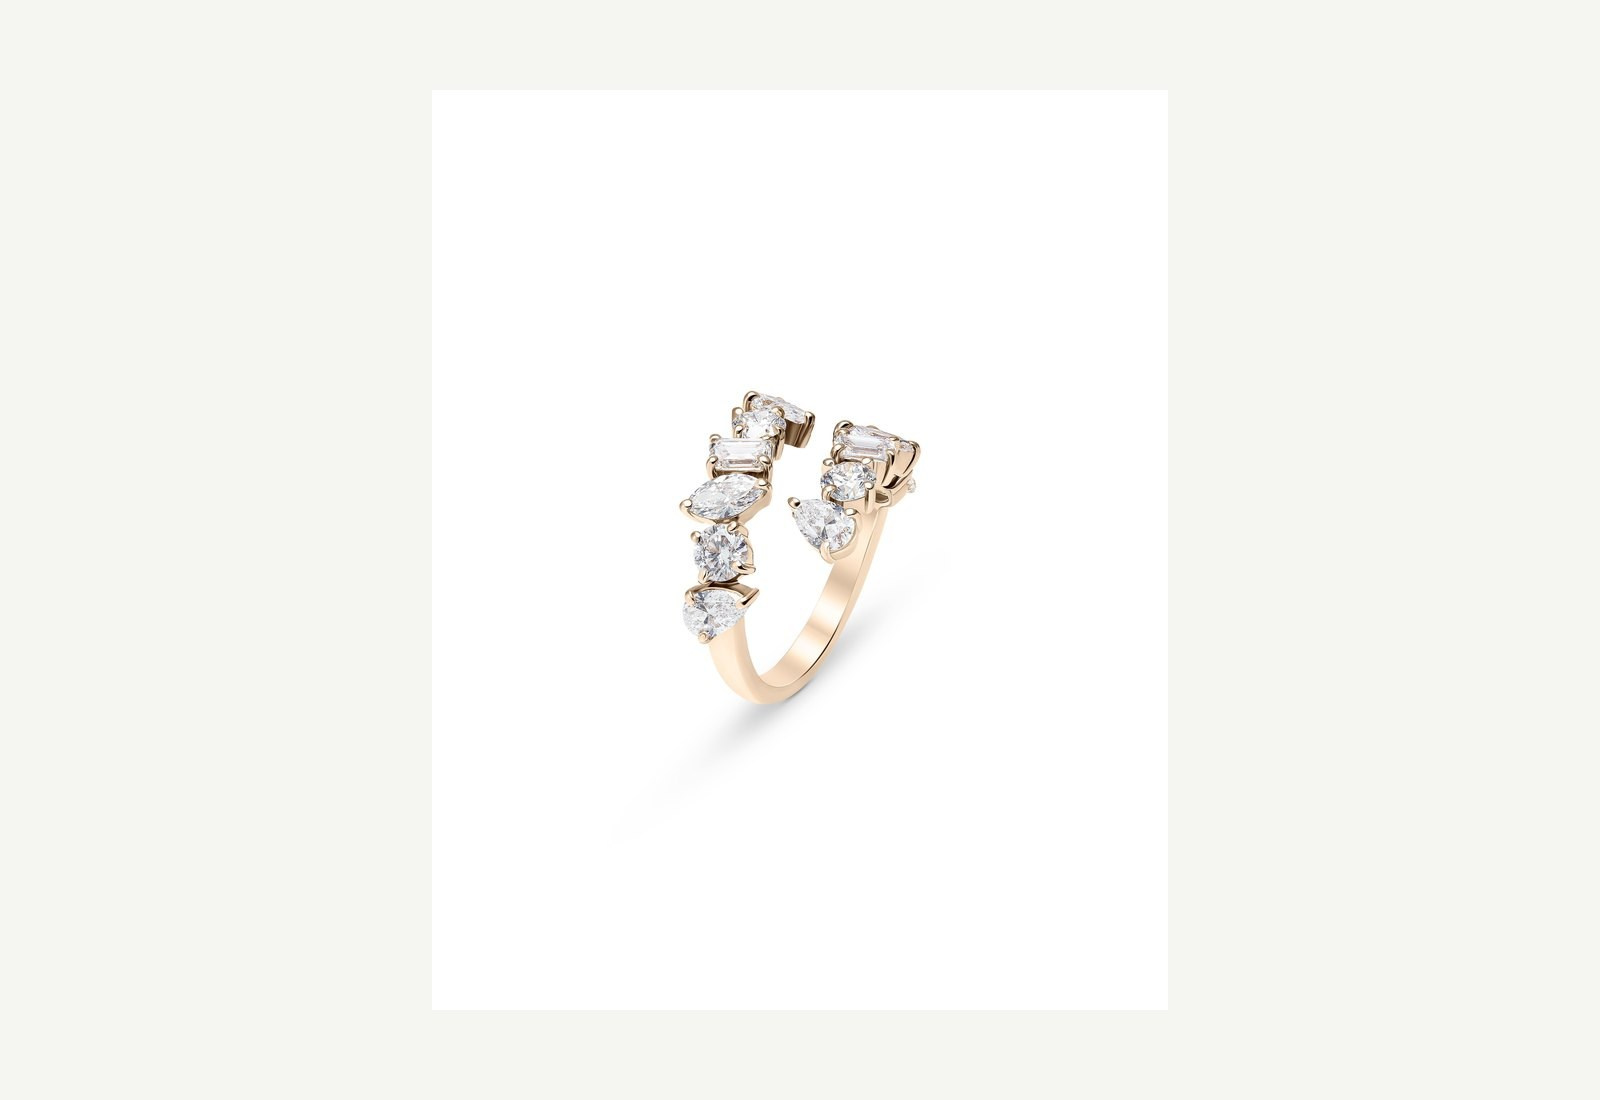
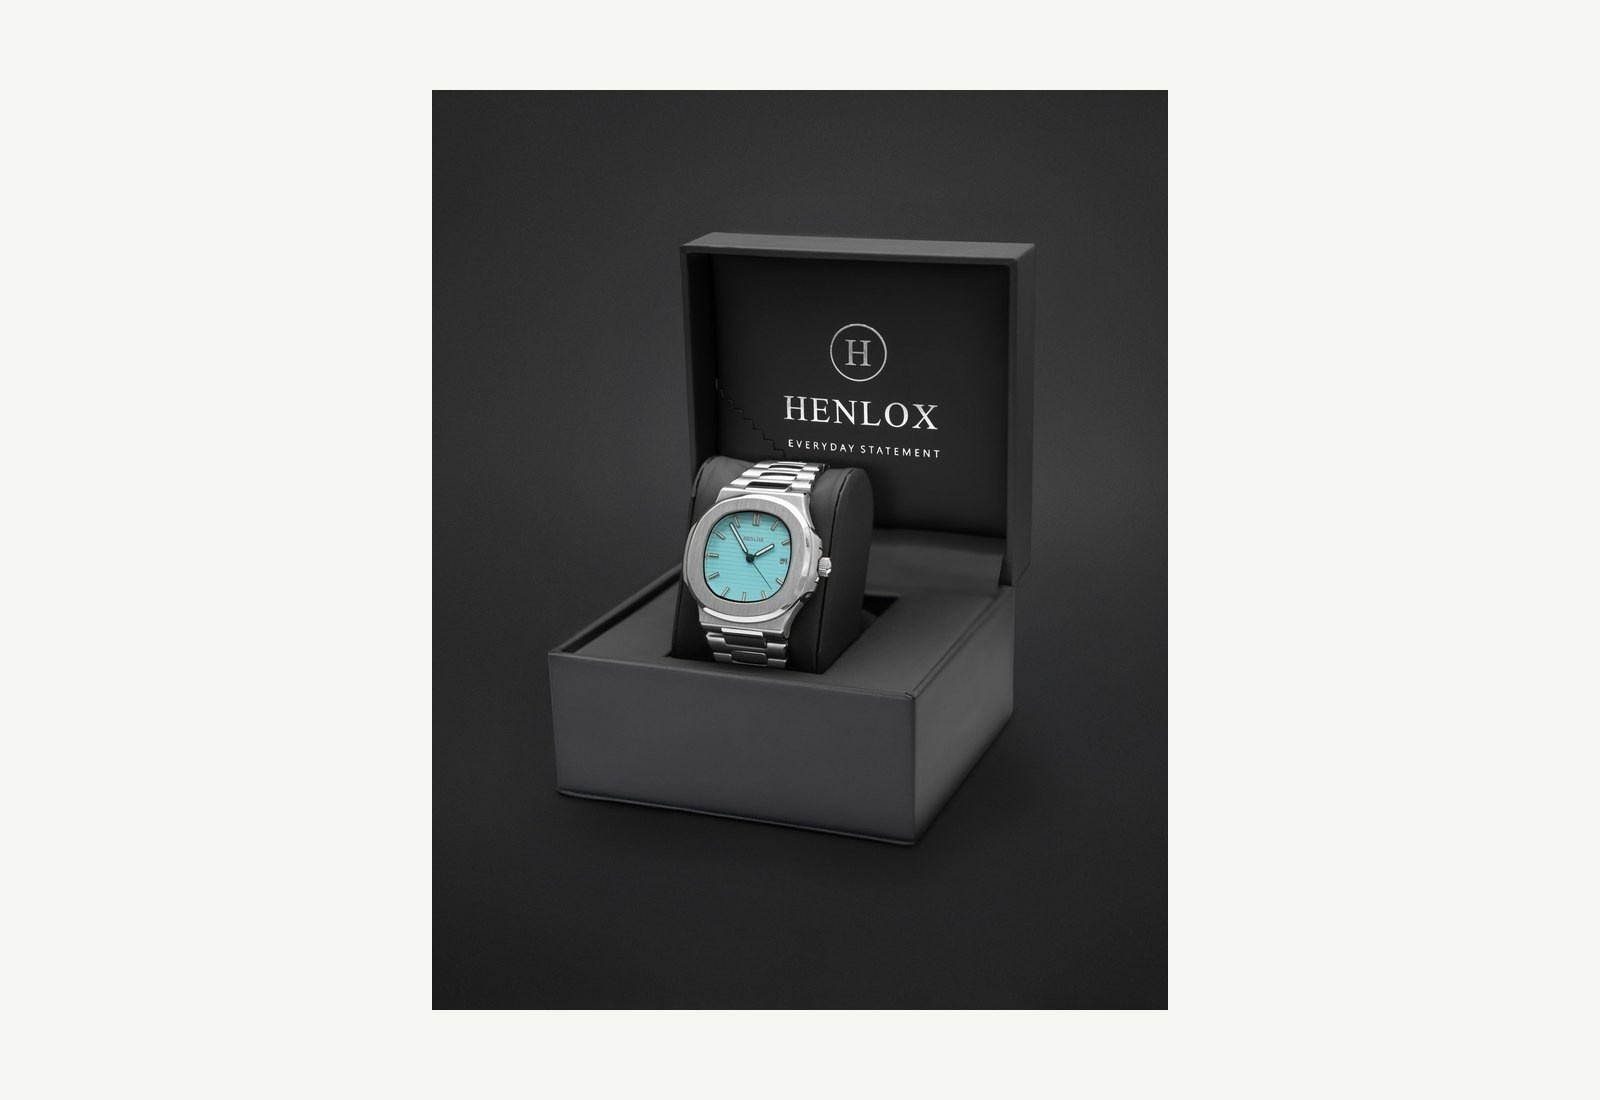
Backup samples are useful for glass, glossy packaging, jewellery, watches, electronics, cosmetics and any product that can be damaged or marked during transport and handling.
A second sample can also solve manufacturing differences. One perfume bottle may have the best label while another has the cleanest cap. When a product is rare or extremely valuable, discuss handling and insurance arrangements with the production company instead of sending additional units unnecessarily.
Mark backups clearly so the team knows which sample is preferred and which should be used only if required.
Clean Products Before Dispatch
Professional product teams will perform final cleaning on set, but this should be a precision check rather than the first time the item is prepared.
Remove:
- Dust and lint
- Fingerprints
- Protective films that should not appear in the final image
- Retail stickers and temporary labels
- Glue residue
- Loose packaging material
Use a cleaning method that is safe for the product. Coated metal, acrylic, leather, polished stone and printed packaging can be damaged by the wrong chemical or cloth. If the surface requires specialist care, supply instructions with the product.
Do Not Open Final Packaging Too Early
Cleaning and preserving are equally important. A perfectly cleaned item can collect dust again during storage or transport.
Place each prepared product in a clean protective bag, sleeve or compartment. Keep accessories together and prevent metal parts from rubbing against one another. If the packaging itself will be photographed, protect its corners and printed surfaces.
For sealed consumer products, confirm whether the seal must remain intact. The production team may need one unopened unit for packaging shots and a second opened unit for demonstrations or internal components.
Organise the SKU List
A structured SKU list becomes the production checklist and the basis for file naming. It is essential when the shoot includes multiple products, colours or sizes.
Include:
- SKU or internal product code
- Exact product name
- Colour and size
- Required angles
- Packaging version
- Priority level
- Notes about defects or sample differences
Use the same identifiers that appear in your ecommerce or inventory system. Renaming products after photography creates confusion during selection and upload. When the same design exists in several colours, specify whether every variation must be photographed or whether approved colour matching will be handled separately.
Prepare the Final Packaging and Accessories
Products are often delivered without all the elements that the marketing team expects to see. Check the complete retail presentation before shipping.
This may include:
- Boxes, pouches and inserts
- Cables, chargers and adapters
- Stands, caps and applicators
- Instruction cards and warranty materials
- Replacement straps or components
- Outer shipping packaging
Confirm which elements should appear together. A photographer should not have to guess whether an accessory is part of the sale, a styling option or only a shipping component.
Create a Clear Product Photography Brief
A useful brief explains the business objective and the visual rules without trying to direct every technical decision.
Include:
- Brand and campaign context
- Target audience
- Required image style
- Background and colour preferences
- Reference images
- Mandatory and prohibited elements
- Final channels and aspect ratios
- Delivery deadline
- Approval contact
References are most useful when you explain what you like about them. Is it the shadow, angle, lighting contrast, colour palette or amount of empty space? A collection of unrelated images can create conflicting expectations.
Build the Shot List Before the Shoot
The shot list should connect each product to a specific deliverable. Avoid vague instructions such as “several creative images.” Define what the team must capture.
A practical list may include:
- Main front image
- Back and side views
- Packaging
- Important detail or texture
- Scale or in-use image
- Group composition
- Horizontal and vertical advertising crops
- Short product movement or video clip
Prioritise essential shots. If the production schedule changes, the team should know which images must be completed first.
Confirm Marketplace Requirements
Marketplace rules should be checked before the lighting and composition are approved. Main listing images commonly require a clean background, an accurate representation of the product and no unsupported graphic elements. Additional images may allow lifestyle settings, details, scale and explanatory content.
Requirements can change and vary by category, so confirm the current rules for the destination platform rather than relying on an old template. Preparing the correct image mix from the beginning is more efficient than trying to convert a campaign shoot into compliant listing content later.
Prepare Reflective and Transparent Products Carefully
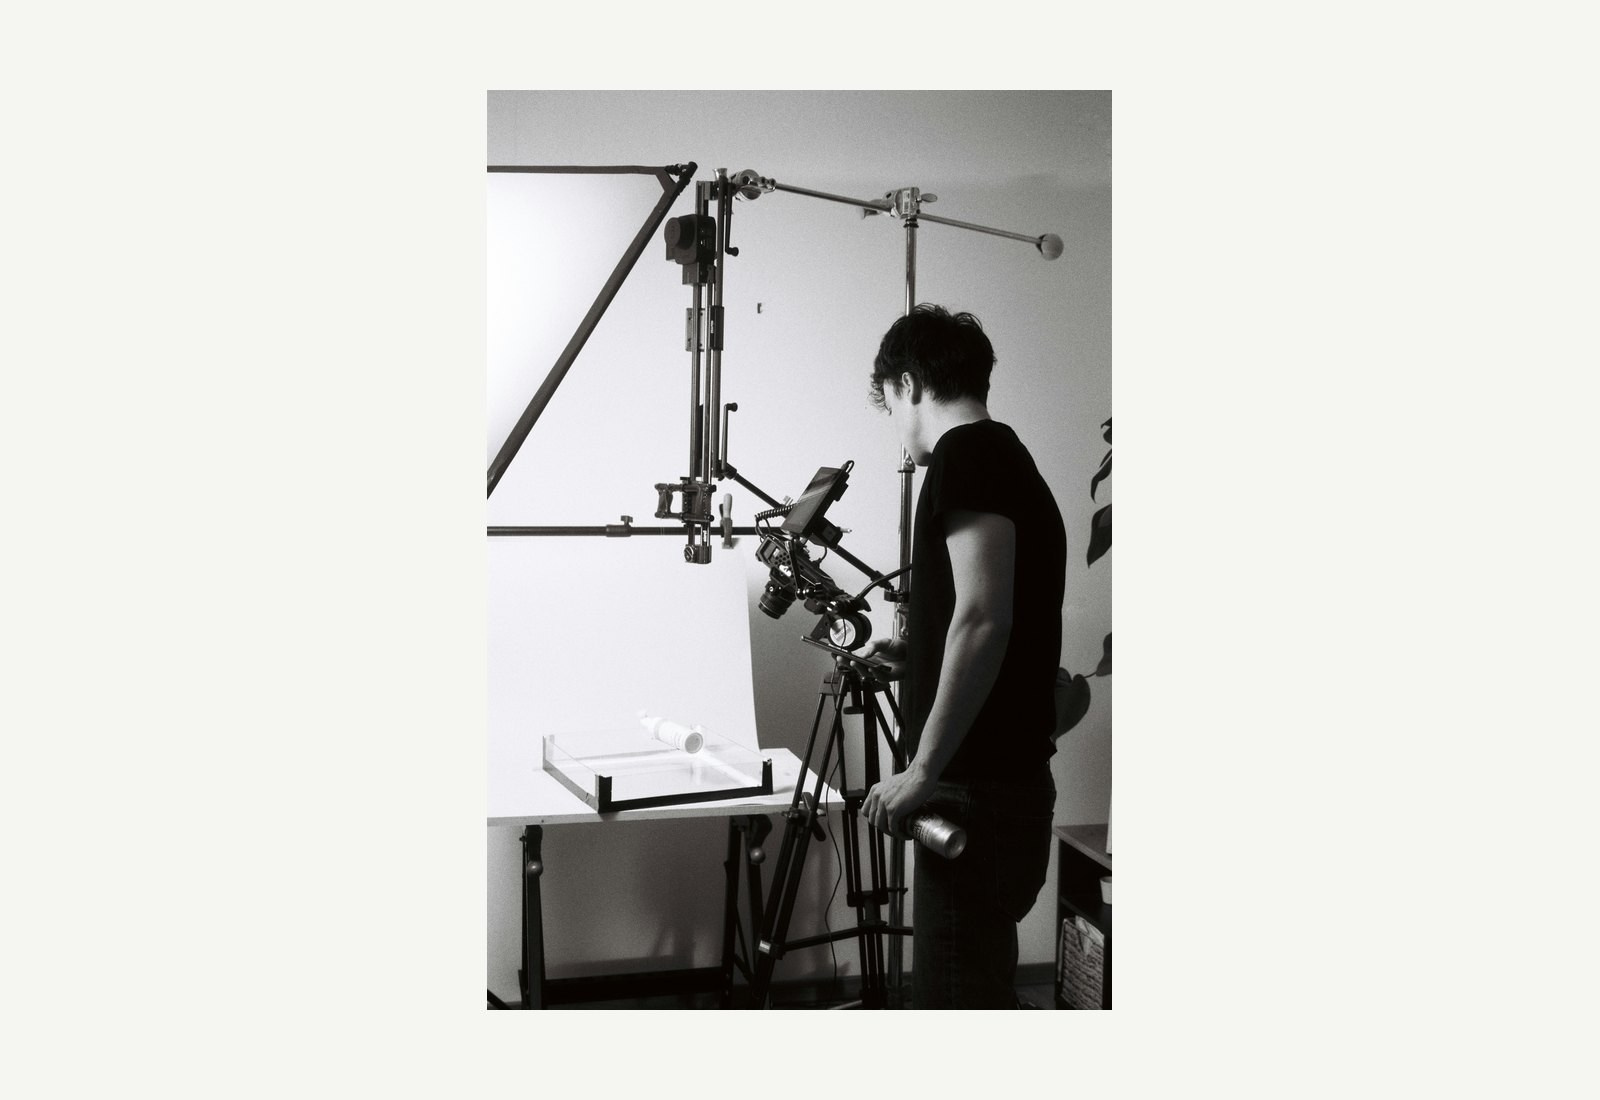
Metal, glass, polished plastic and glossy packaging reflect the studio, the camera and surrounding objects. Their appearance is shaped by controlled reflections rather than by simply pointing a light at them.
Inspect these products under strong light before dispatch. Micro-scratches, fingerprints and label bubbles can become prominent. Transparent bottles should be filled to the correct level and checked for particles, uneven liquid colour or marks inside the container.
For jewellery and watches, confirm the preferred time, clasp position, chain arrangement and orientation of any movable elements.
Prepare Electronics and Screens
Electronic products need both cosmetic and technical preparation.
Before the shoot:
- Charge devices fully
- Provide working cables and adapters
- Remove personal data and notifications
- Install the correct demo content
- Confirm the screen language and time
- Clean ports, keyboards and display surfaces
If screen content will be added in post-production, provide the approved interface files and confirm usage rights. Do not assume that any visible app, logo or customer information can appear in commercial content.
Confirm Styling and Props
Creative product photography may require surfaces, backgrounds, props, ingredients, flowers, textiles or set construction. Decide who is responsible for sourcing each element and who approves it.
Props should support the product rather than create an inaccurate claim. Food ingredients, for example, should not imply that a cosmetic contains something it does not. A scale reference should also be truthful.
For brand-controlled colours, provide official colour references. Screens and sample prints can display colours differently, so a recognised brand specification is more reliable than a screenshot.
Plan Product Delivery and Collection
Confirm the delivery address, contact person, arrival date and inventory process. Products should arrive early enough for inspection, but not so early that storage becomes a risk.
For large catalogues, label boxes by shoot order. Place essential accessories with the related SKU rather than in a separate unmarked container.
Agree what happens after production: collection, return courier, long-term storage or disposal of non-returnable samples. High-value items should be counted and signed in and out.
Approve a Test Image
For catalogues and repeated product types, approve a representative test image before the full production continues. The test should confirm angle, scale, background, shadow, colour and crop.
A test image is especially valuable when dozens or hundreds of SKUs must look consistent. Changing the visual rules after the entire catalogue has been photographed creates avoidable reshooting and editing.
Final Checklist
- Best samples selected and inspected
- Backup units included where practical
- Products cleaned and protected
- Final packaging and accessories included
- SKU list checked against physical items
- Shot list prioritised
- References and brand guidelines shared
- Marketplace rules confirmed
- Props and styling responsibilities assigned
- Delivery, approval and return contacts confirmed
Frequently Asked Questions
Should products arrive in retail packaging?
Yes, if the packaging will appear in any photograph or video. Also send every accessory and insert that customers receive.
How many product samples should we send?
One camera-ready sample may be enough for a robust item. Fragile, reflective, high-detail or production-sensitive products benefit from an approved backup.
Does professional retouching remove every defect?
Retouching can correct many small issues, but preparing a clean, accurate sample is faster and protects realism. Major damage or incorrect packaging should normally be replaced rather than digitally rebuilt.
Can we decide the angles during the shoot?
Minor adjustments are normal, but the required views should be agreed in advance. This protects the schedule and ensures every SKU receives the same coverage.
Can photography and product video be produced together?
Yes. Planning them together can create a consistent visual system, but motion, aspect ratios and video-specific actions must be included in the brief.
Conclusion
Good product preparation is not administrative work around the shoot; it is part of the production itself. Clean samples, accurate SKU information, final packaging, clear references and an approved shot list allow the creative team to spend more time refining light, composition and detail.
GSP Media provides commercial product photography and videography for brands, agencies and ecommerce teams in Dubai and across the UAE. We can help define the image mix, production workflow and deliverables before the shoot begins.
Blog

Corporate Podcast vs Video Interview: Which Format Is Right for Your Business?

How to Prepare a Corporate Event Photography and Video Brief

How to Prepare a Venue for Professional Live Streaming
How Multi-Camera Live Streaming Works
How Multi-Camera Video Podcast Production Works
How Many Cameras Does a Corporate Event Need?
How to Prepare a CEO or Executive for a Video Interview

Why Backup Internet Is Essential for Event Live Streaming

What Affects Corporate Event Photography and Video Costs?
Event Photography vs Videography: What Does Your Event Need?
Video Podcast Production in Dubai: Complete Business Guide
Professional Event Live Streaming: How It Works

Corporate Event Photo & Video Company Dubai: How to Choose